I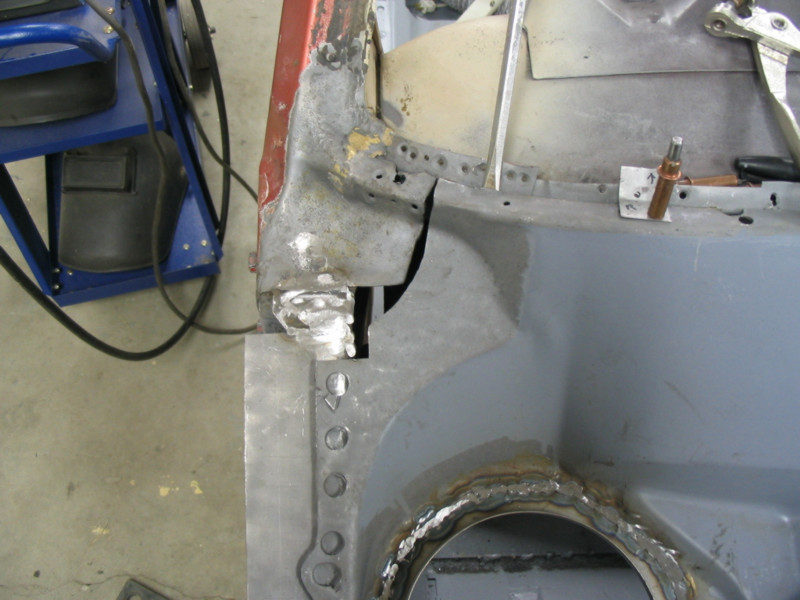
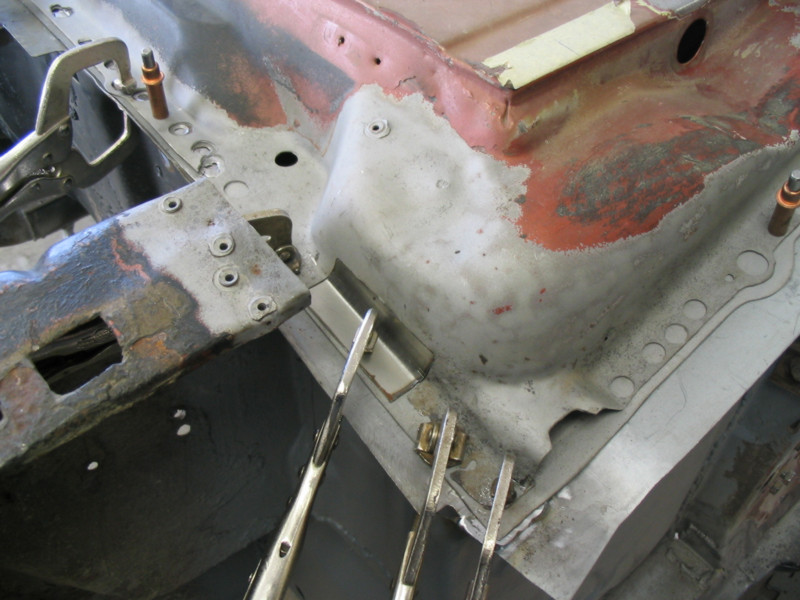
In the next pictures we are installing a small
patch on the passenger side lower half of the cowl. This is the half
that if
looked up underneath the dash you would see
the bottom side of this panel.
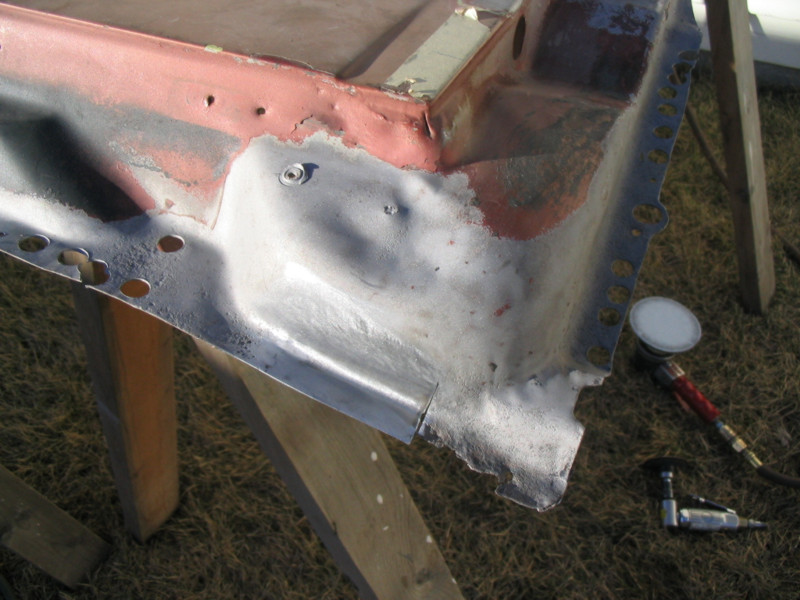
fitted...
and welded.
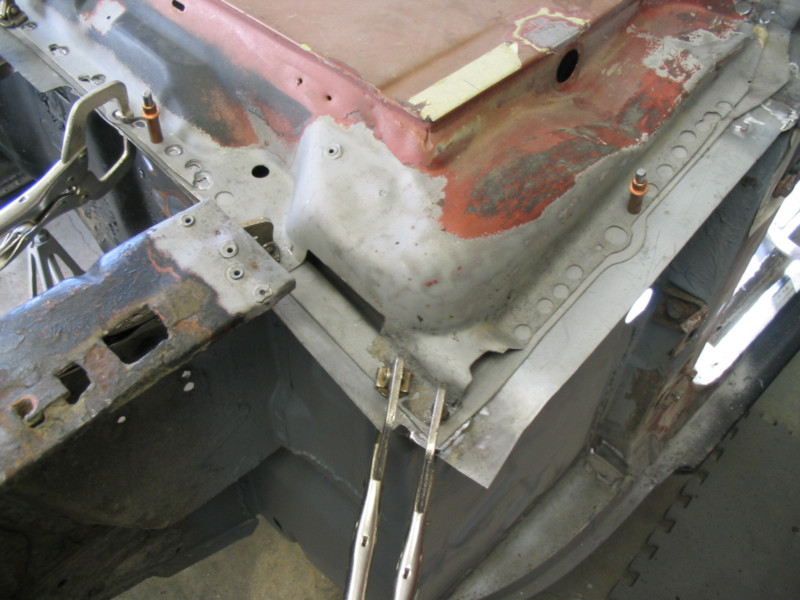
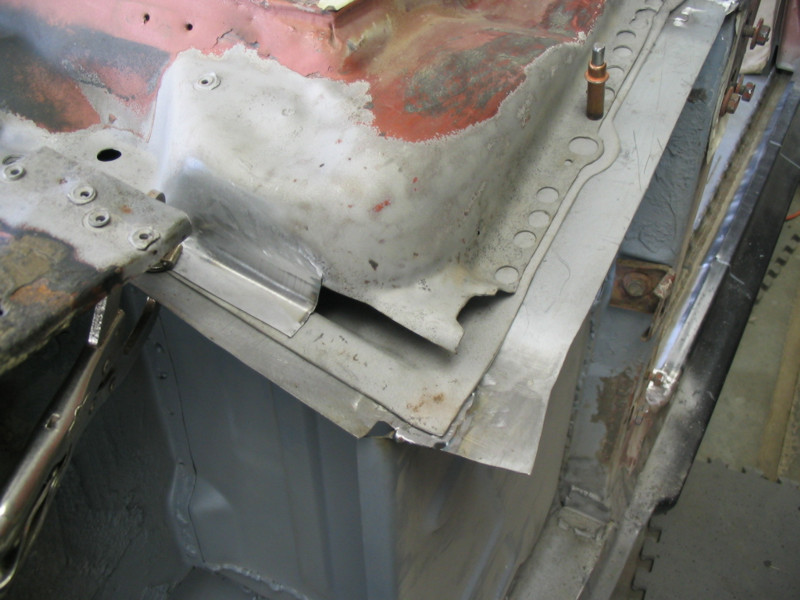
Passenger side cowl vent repair. The taller part of the vent
is not installed yet.
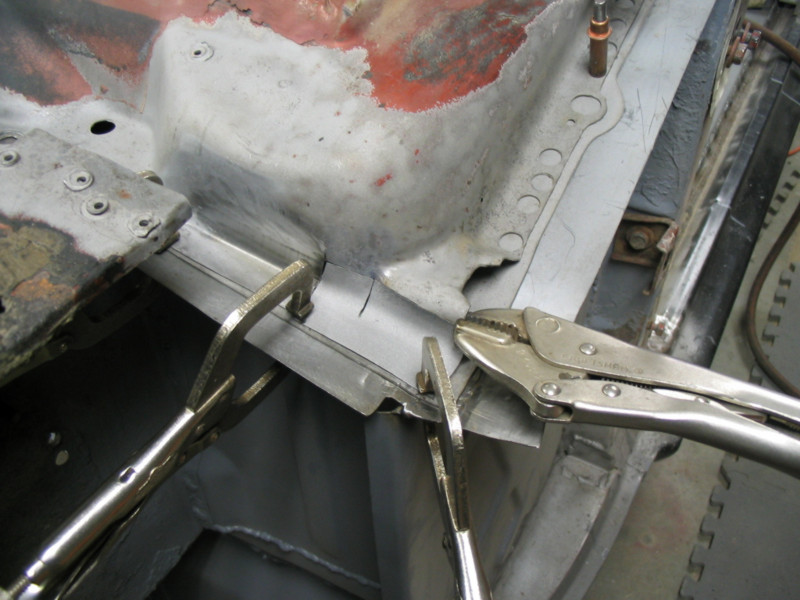
Here we have cut away the rust parts of the driver's side vent.
Started fitting the patch panel.
Ready to weld in the drivers side vent patch.
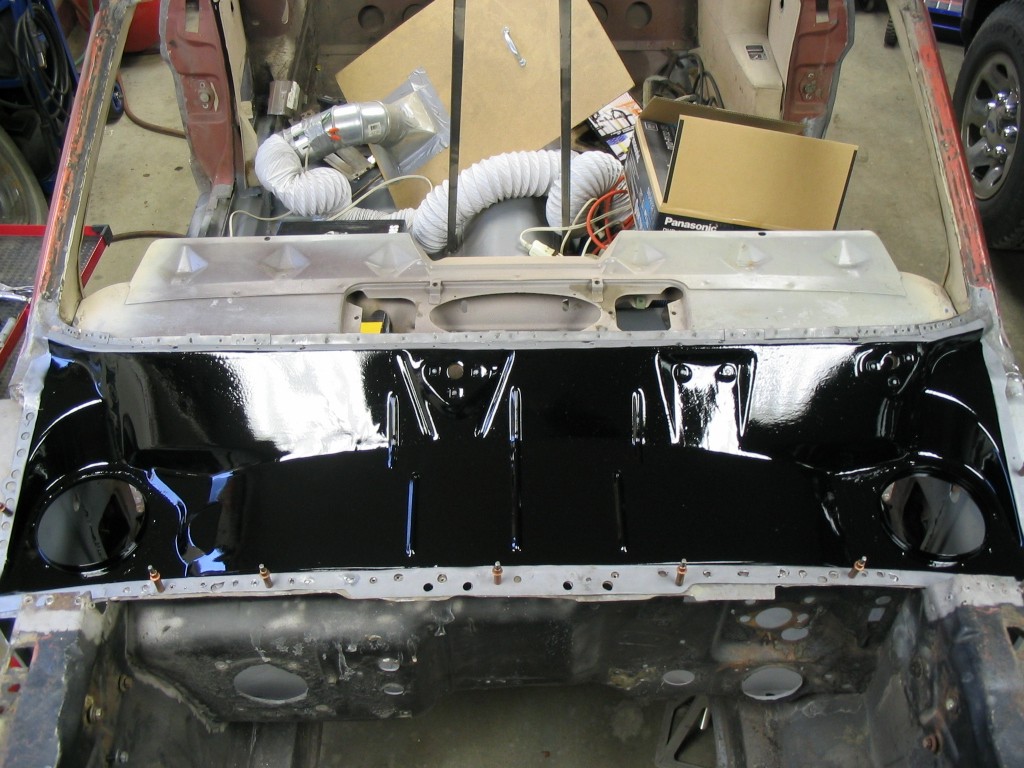
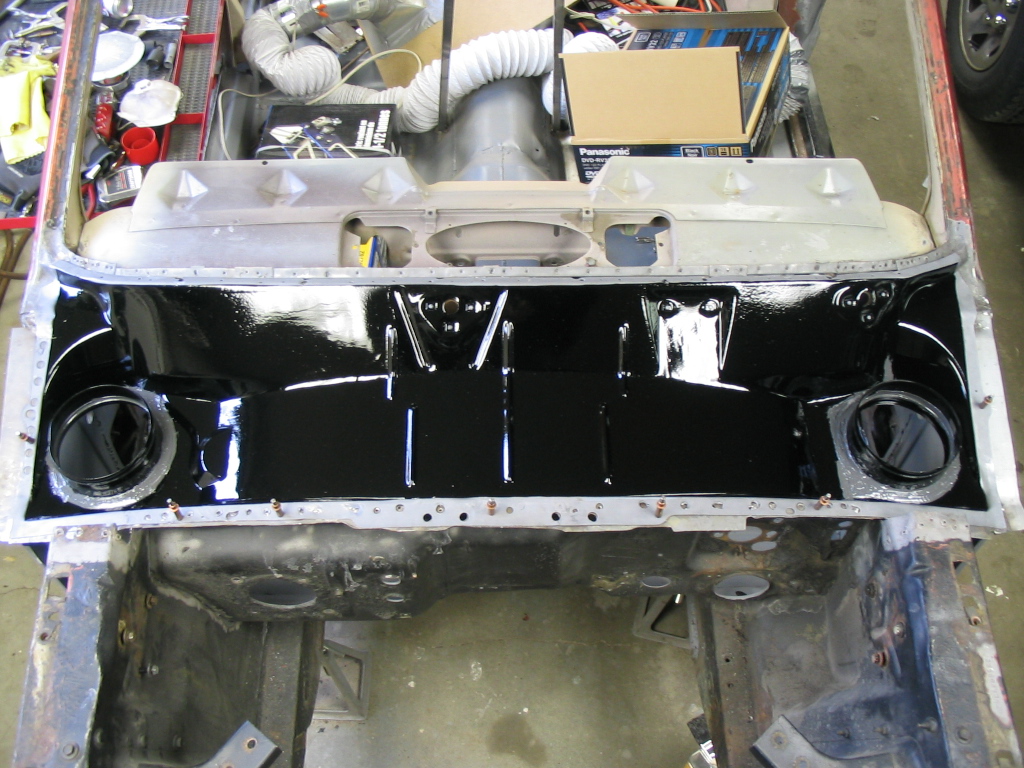
The lower cowl in paint before the hats are welded on.
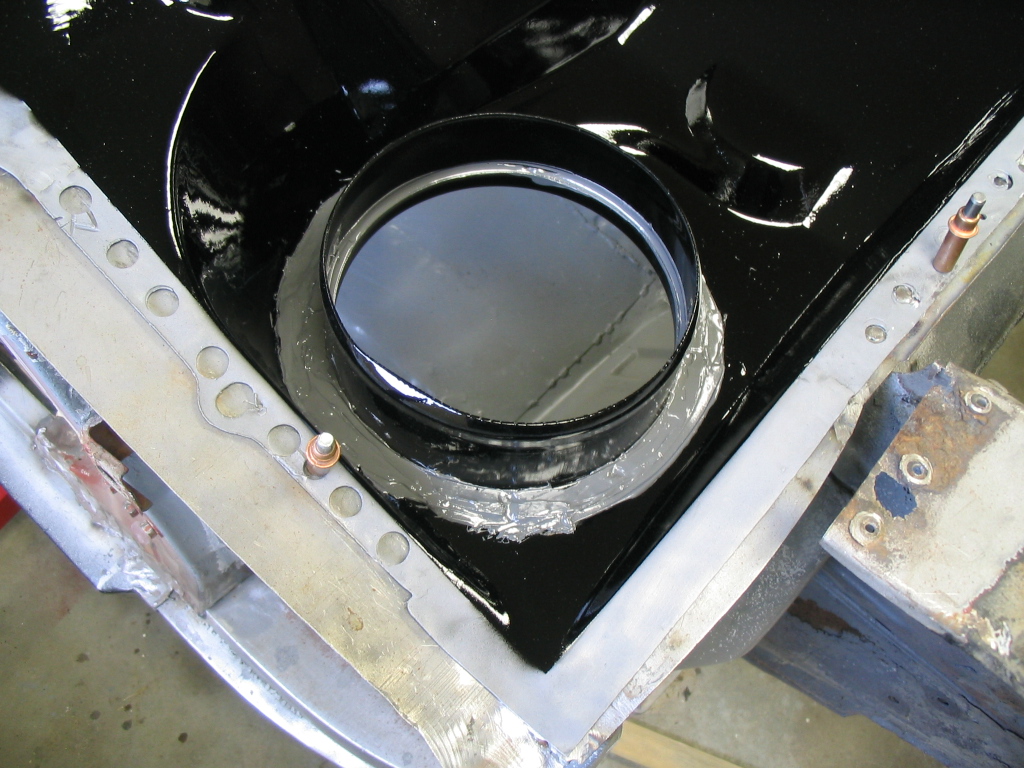
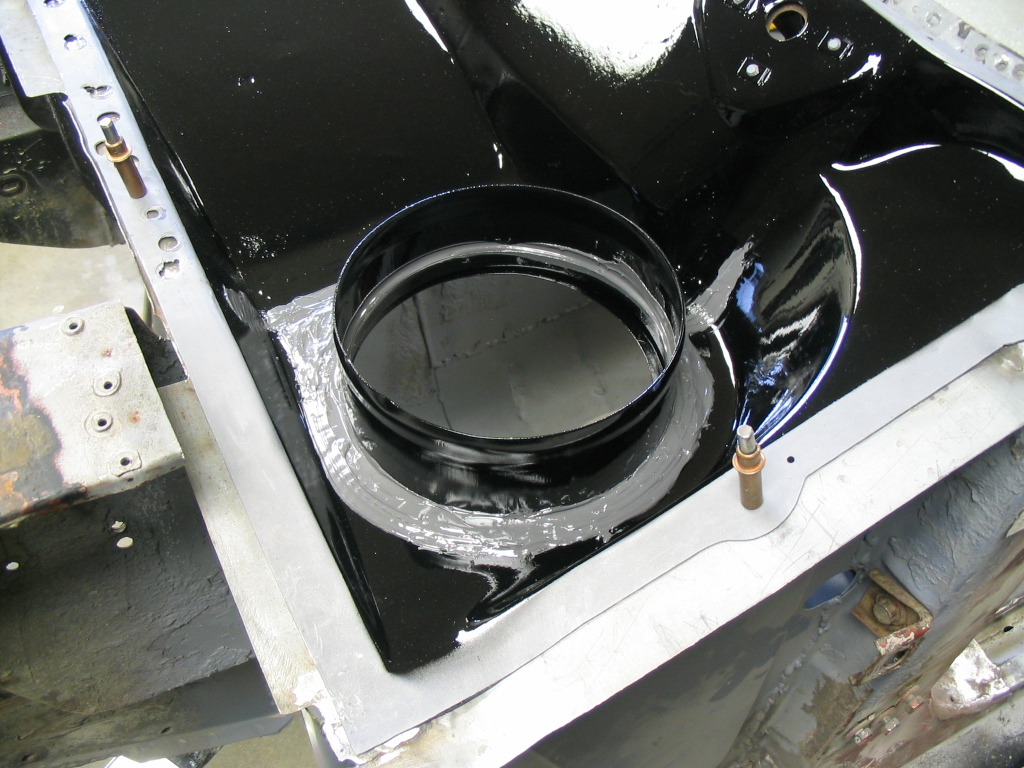
The hats welded in and sealed. This repair should last as long as I own the car or live.
Now that repairs under neath are done we can start on repairing the
remainder of the cowl.
Cutting out small parts of rusted areas and joining the repairs
is easier than in one large piece.
Test fit the new piece...
...and weld it in. This is what it looks like after grinding
and sanding the weld.
Cut out the next piece...
...fitting again...
...and welding, grinding and sanding.
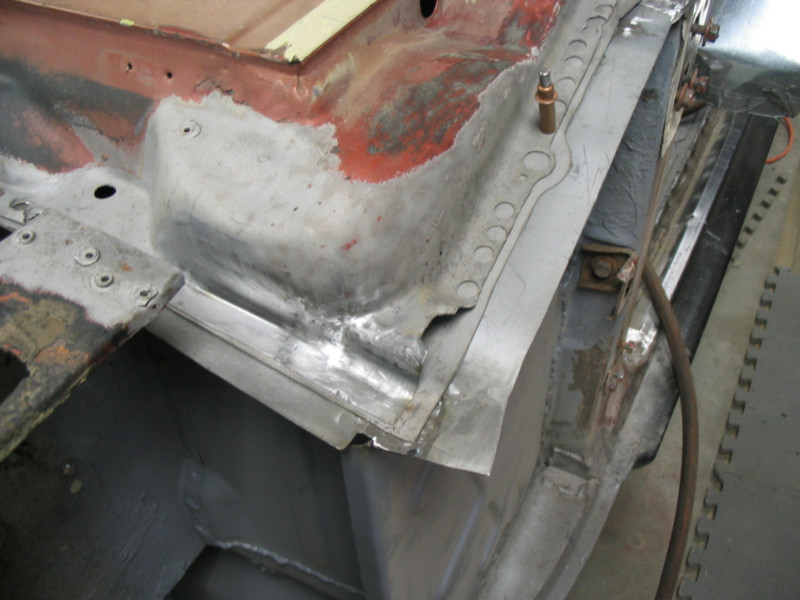
Here we have started the same process on the side of the cowl.
The finished product.
A little more work to replace some heavy pitting.
The second part of this repair.
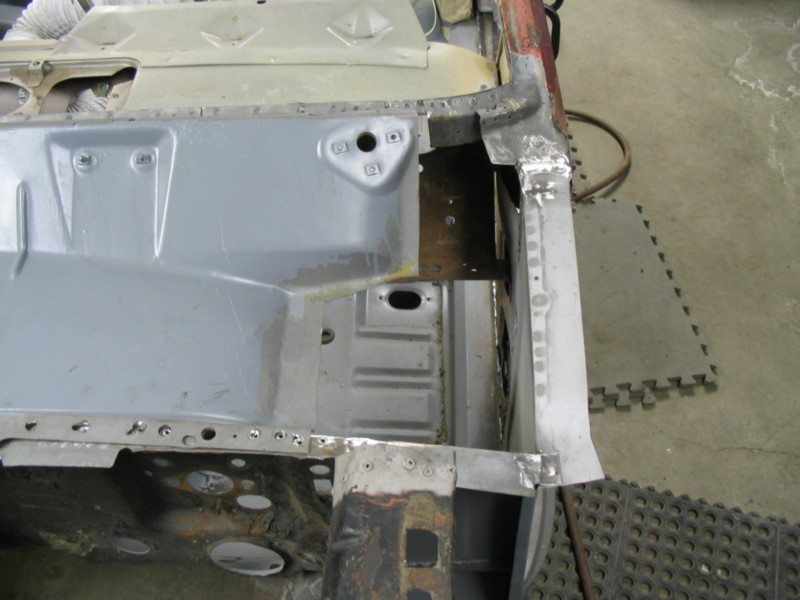
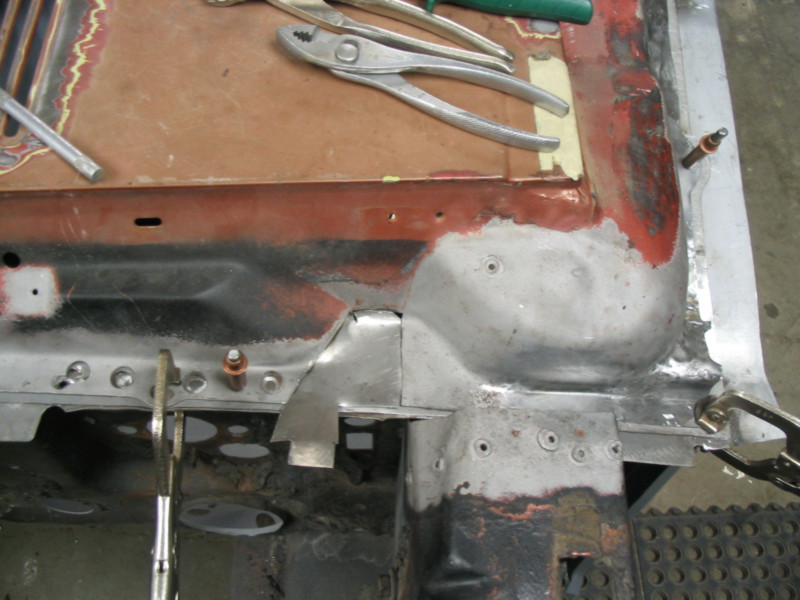
Drivers side is done, now moving on to the passenger side.
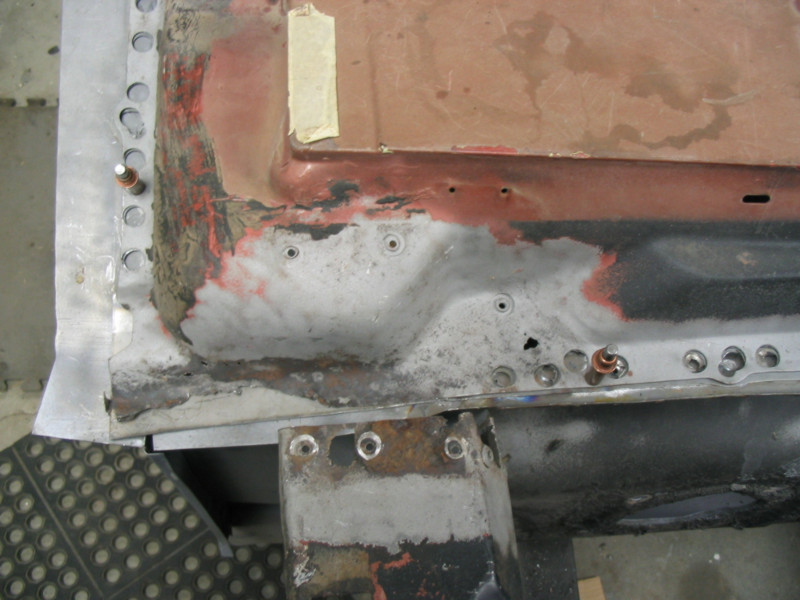
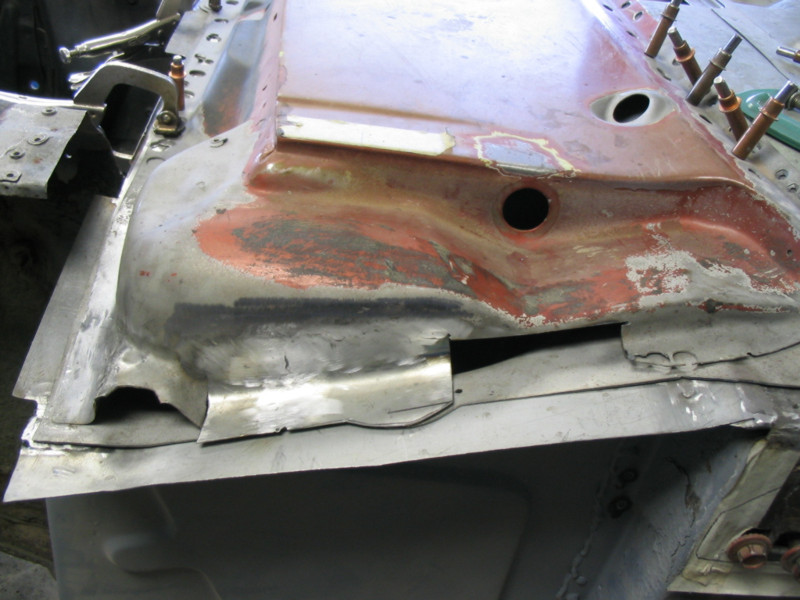
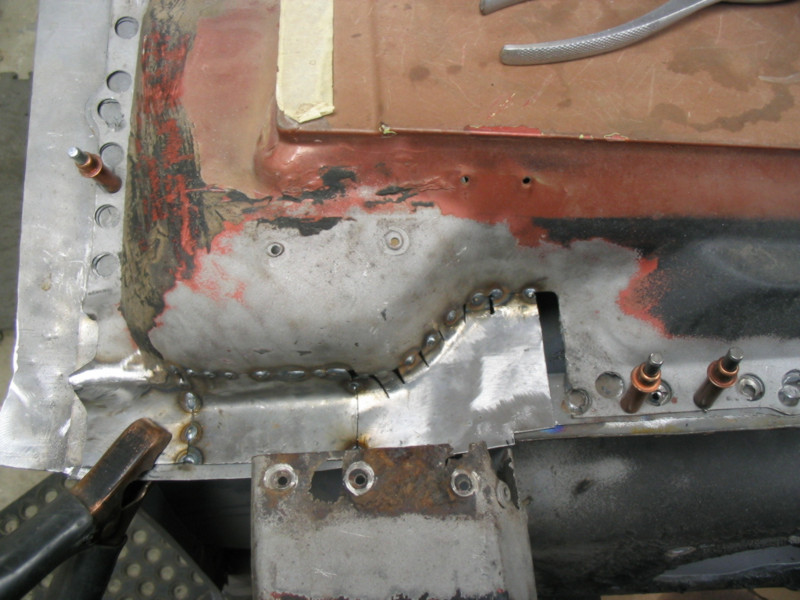
On the passenger side this is what we started with. Lots of
heavy corrosion in the lower left corner.
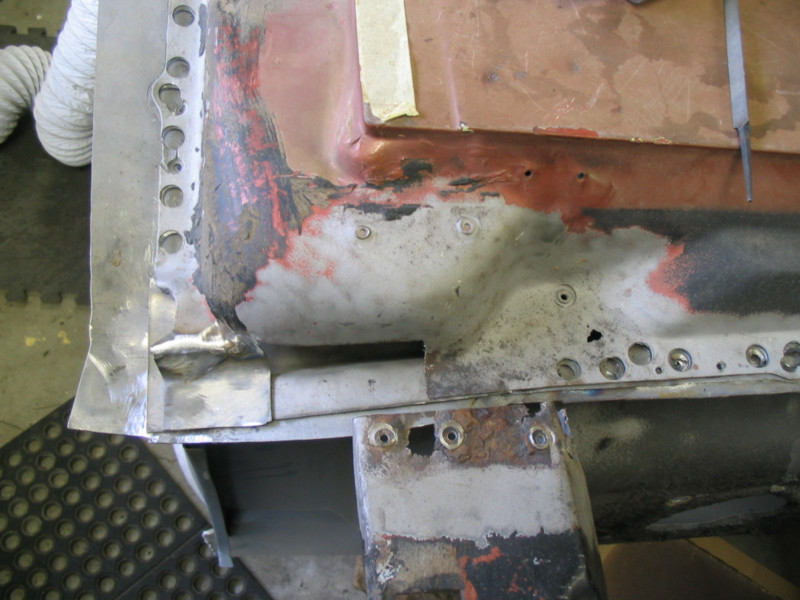
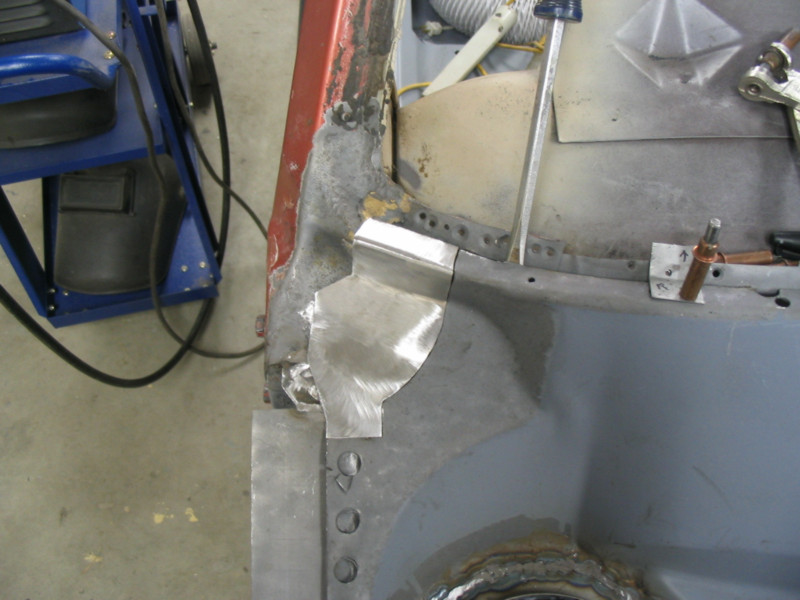
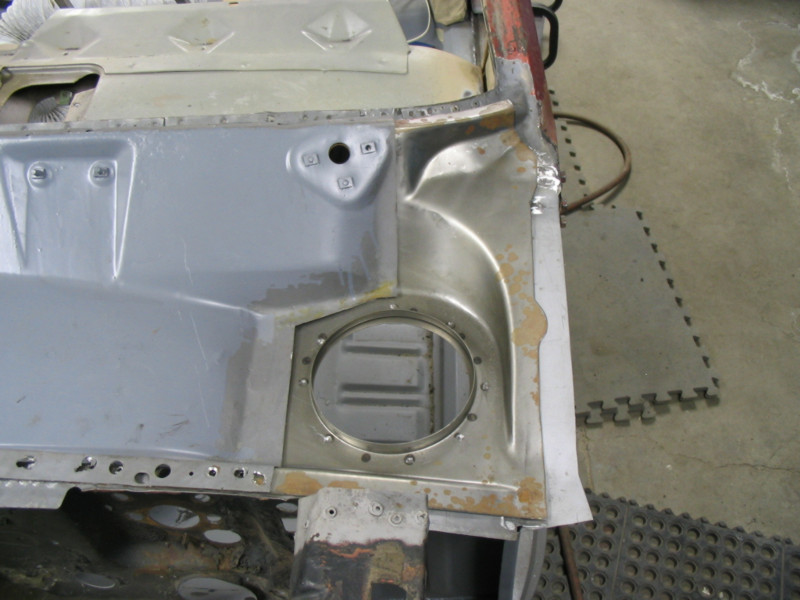
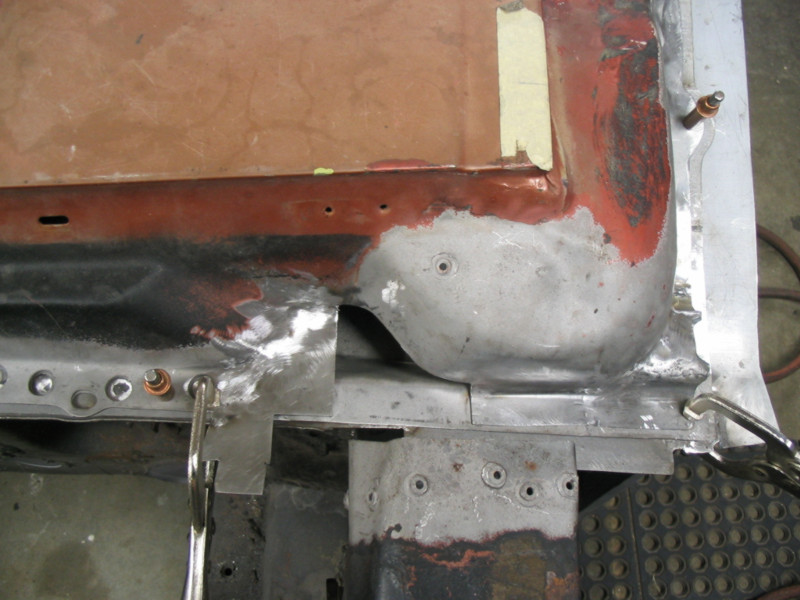
Here the first piece on the left is already installed and we are
working on the second one.
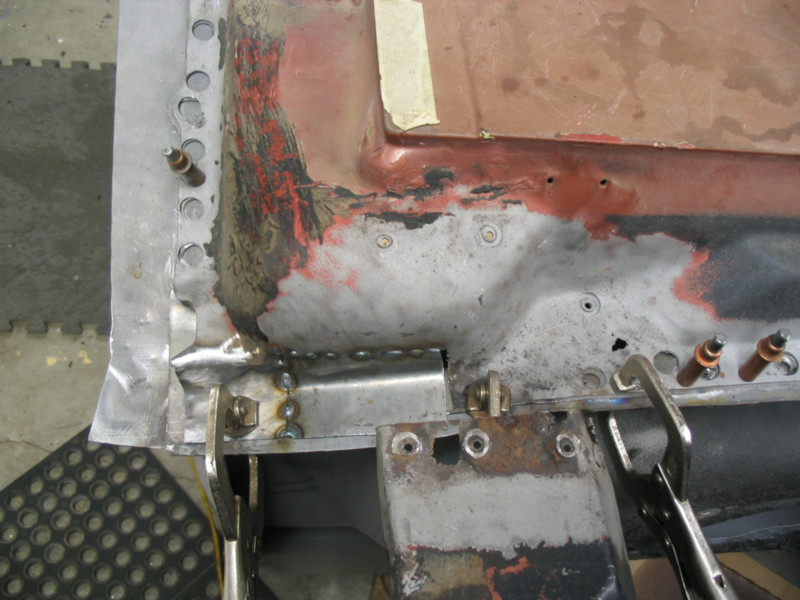
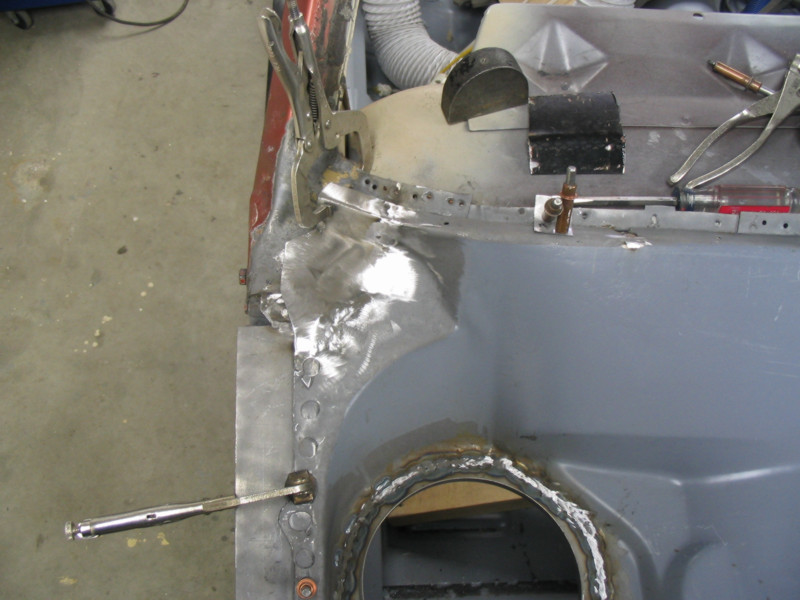
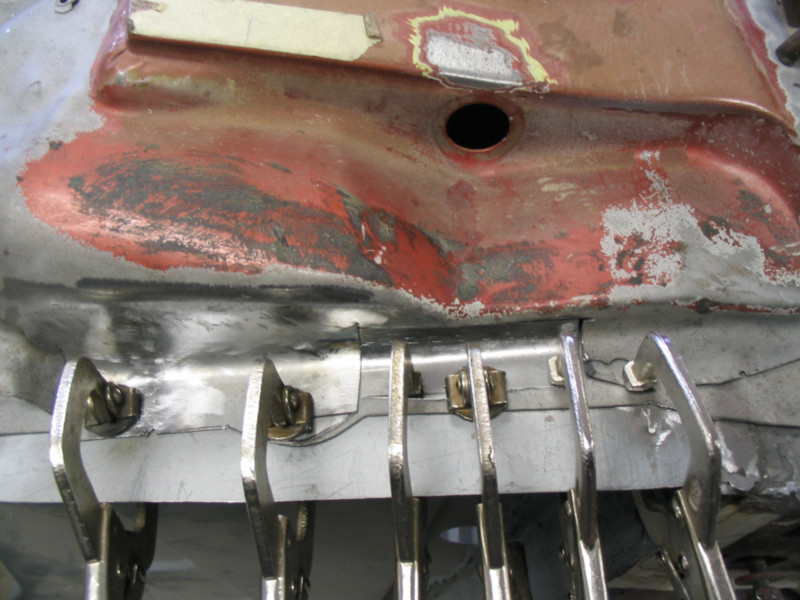
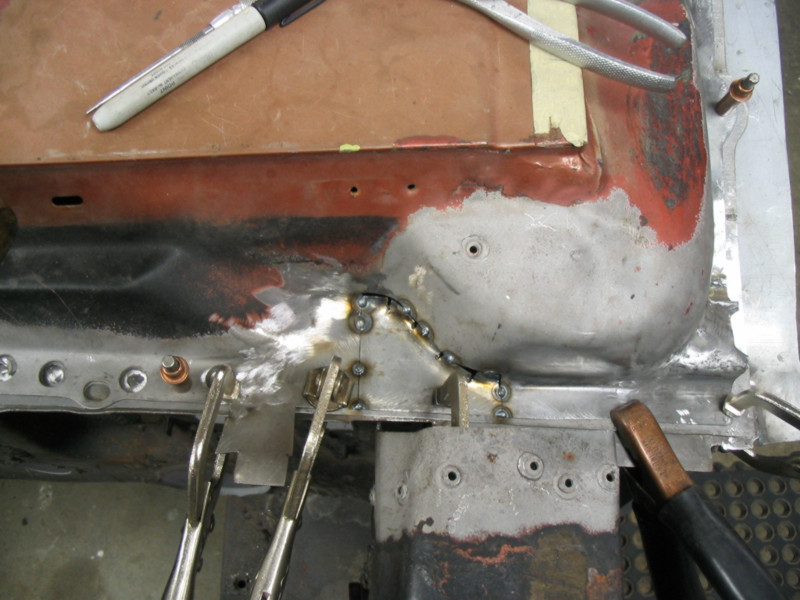
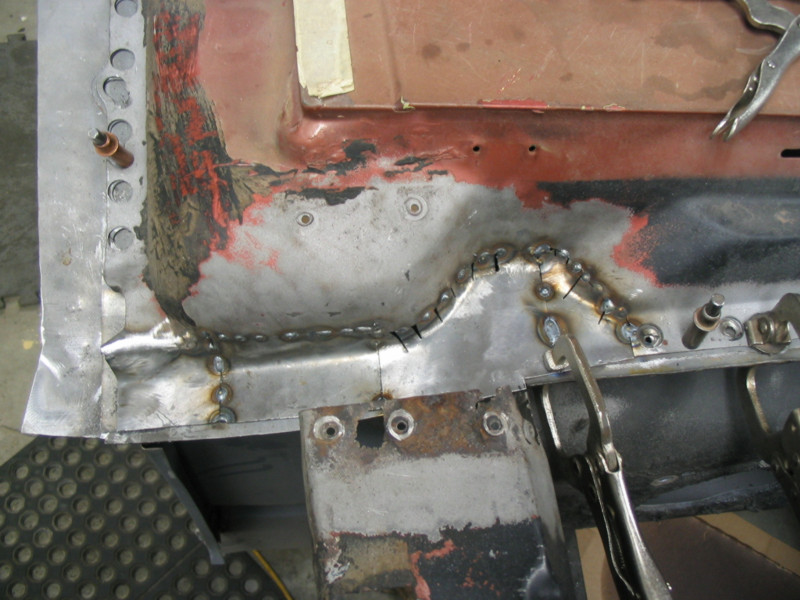
Short tack welds are all that are needed. Filling the spaces
in slowly till it is
completely welded prevents warpageand burnthrough.
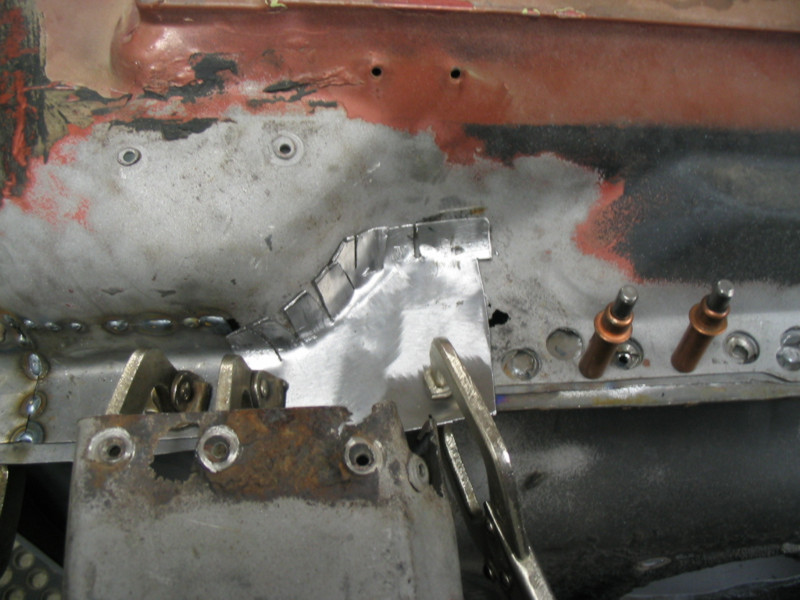
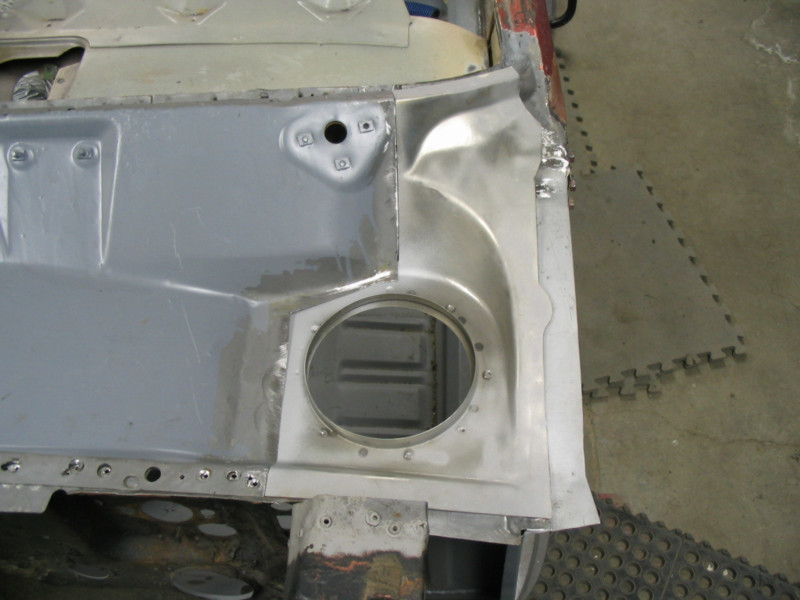
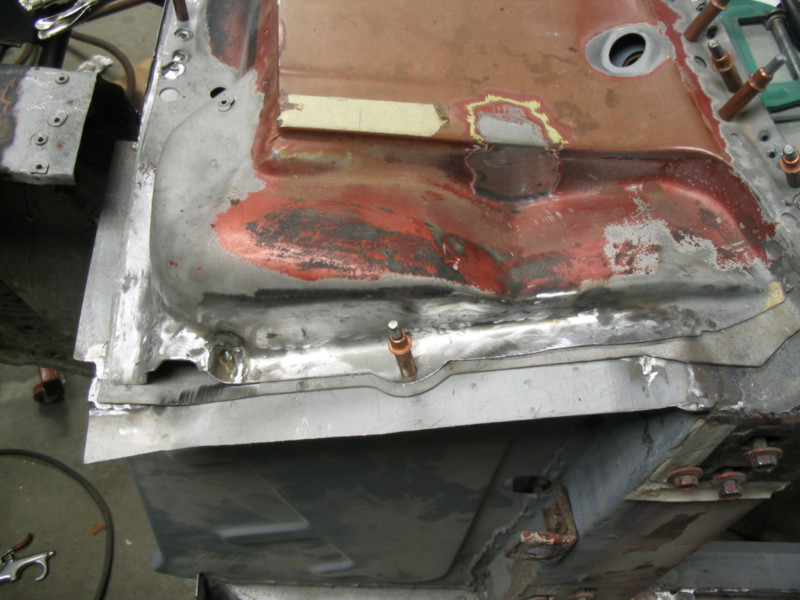
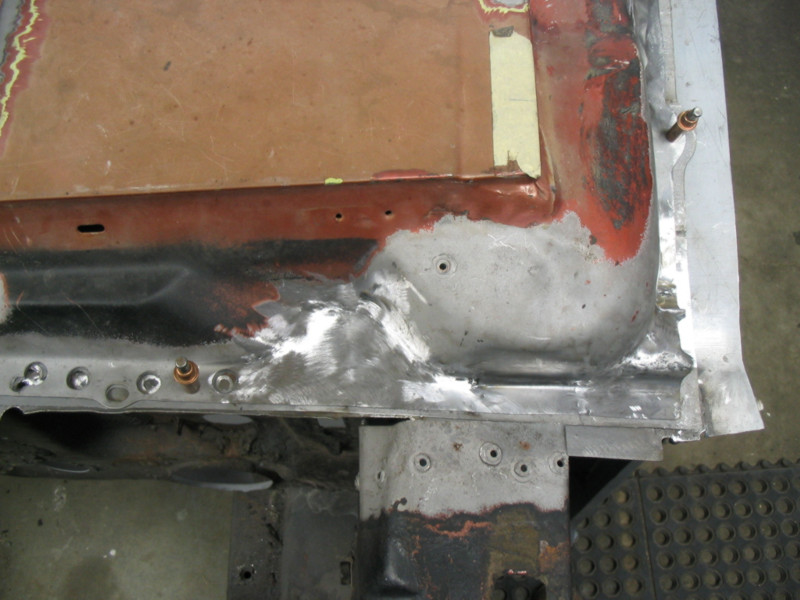
Moving inward...
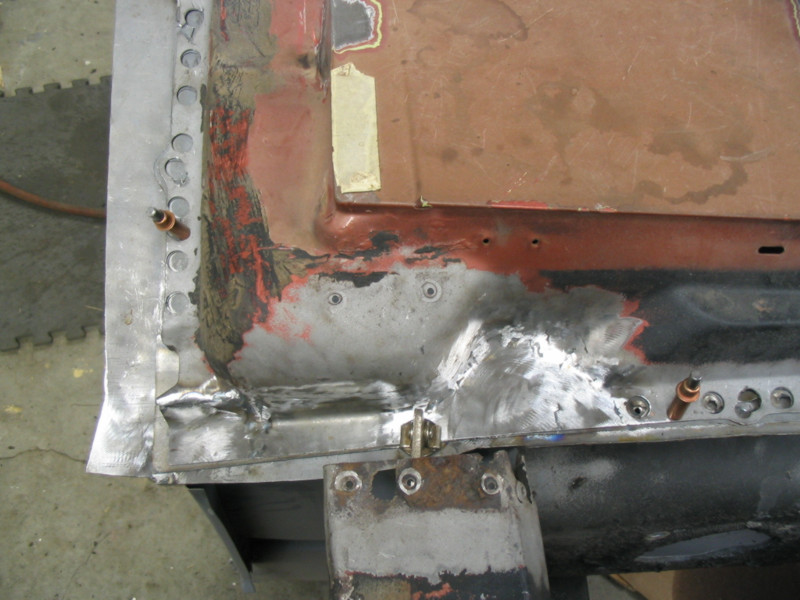
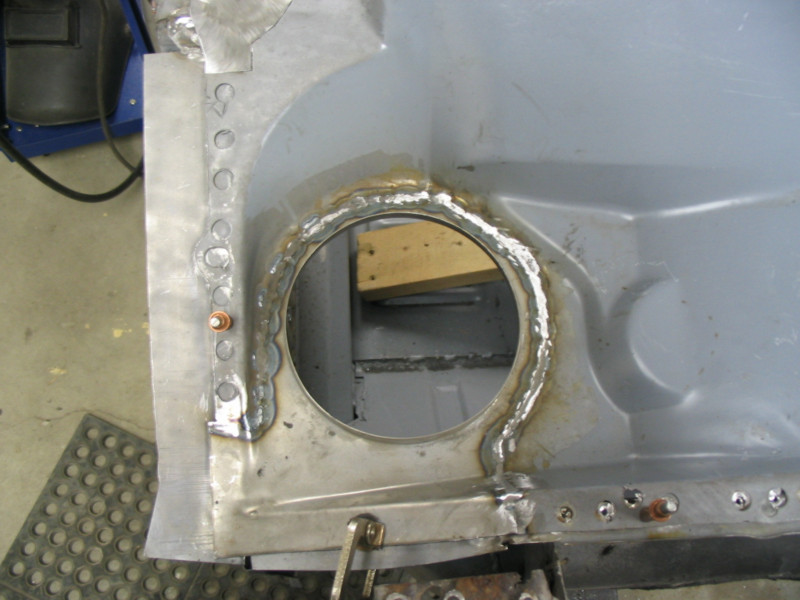
And after grinding.
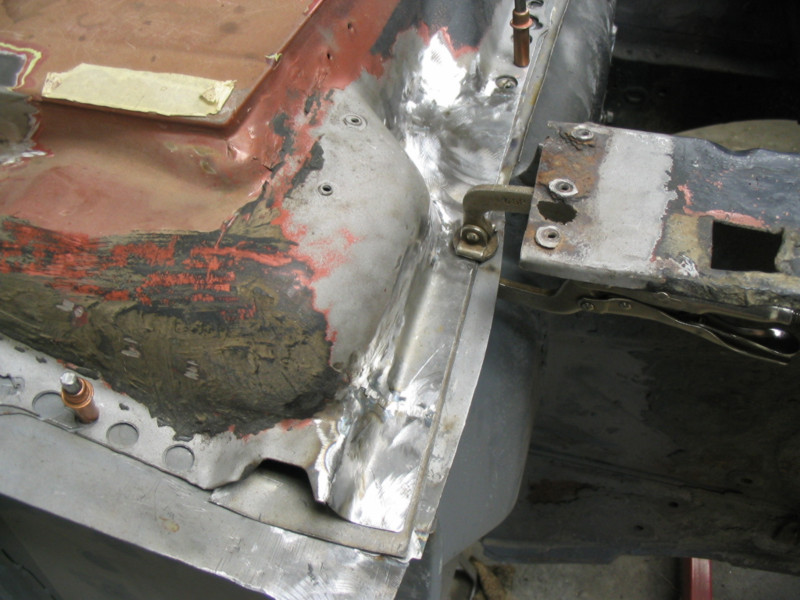
Another view. Now we will strip the cowl of paint and prepare
to paint inside before welding
the two halves back together.